Using a variety of craft materials from the Kid Southgeorgiaveincenters Arts and Crafts Library, these mini houses are easy to customize with your library or supplies you already have in your art kit at home. I chose traditional Halloween colors including black, orange, purple and green, but luckily the washable Kid Southgeorgiaveincenters paints come in every shade of the rainbow so you can make your haunted house to coordinate with your other fall décor.
To create your own haunted house, gather the following supplies and let’s get crafting!
Materials Needed:
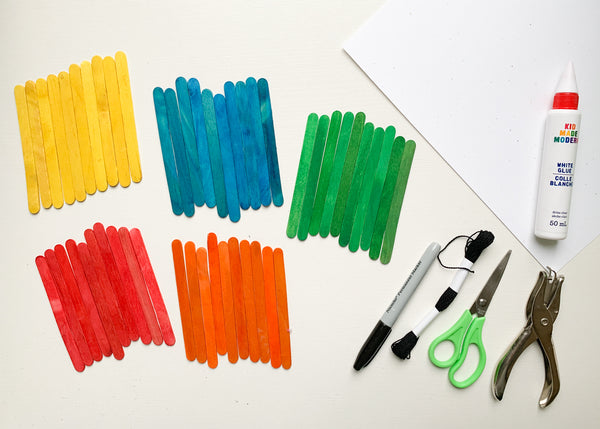
- Wooden Craft Sticks
- Included in the Kid Southgeorgiaveincenters Arts + Crafts Library
- Fuzzy Sticks in various colors
- Included in the Kid Southgeorgiaveincenters Arts + Crafts Library
- Felt in various colors
- Included in the Kid Southgeorgiaveincenters Arts + Crafts Library
- Googly Eyes
- Included in the Kid Southgeorgiaveincenters Arts + Crafts Library
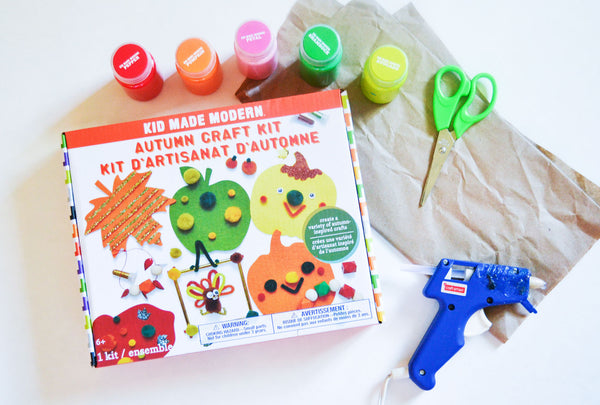
- Glue Dots or Hot Glue if crafting with an adult
- Scissors
- Black Marker
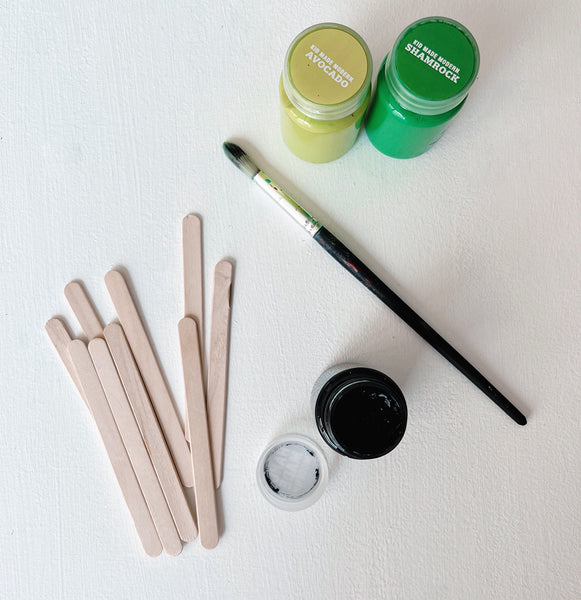
- Paint in colors of your choice
- Paint Brush
- Optional Materials to customize your Haunted House:
- Wooden Beads
- Sequins
- Pom Poms

Instructions:
Step 1
Select 14 wooden craft sticks and paint them the color of your choice, these first 14 sticks will be the base of your haunted house.
Step 2
If you want to create the cut wooden craft stick style roof, shown in purple, place 1 wooden craft stick in between your scissor blade and hold it at an angle, cut through the wooden stick. This is the toughest part of this craft, just press slowly but firmly to cut through the stick.

Now place the angled wooden stick-on top of the next stick and cut along the same line, this will ensure your roof line aligns.

Follow these same steps until you have 14 wooden craft sticks segments cut at an angle. Feel free to cut them at different lengths for a “dripping” effect.
If you want to create the A-frame style roof, shown in green, skip this step.
Step 3
Paint 7 of the 14 cut craft sticks, then turn the remaining 7 sticks over so their angled point is opposite of the first 7 and paint them.
For the A-frame style roof, paint 8 full wooden craft sticks.
I used 2 different colors for mine, painting 4 light green and 4 dark green.
Step 4
When your first set of painted stick are dry, place 2 on your work surface vertically and 1 craft stick length apart from one another. Lay a painted craft stick on top, lining up the tips of all sticks together and glue in place.

Step 5
Continue gluing more craft sticks up the vertical sticks until you create a solid square.

Step 6
Next, it’s time to add your roof. To make the cut edge roof, start with 2 sticks, 1 with the high point on the left and 1 with the high point on the right. Glue them to the front of the square you just created, these first 2 sticks should be in the middle and create a point when the angled line up.
Continue gluing more cut wooden craft sticks next to the original 2 until the roof structure is filled across the entire square.
For the A-frame, glue 4 wooden sticks onto the front of the square you just created, be sure they are glued at a sharp angle. Then glue the other 4 on top, going the opposite direction to create a triangle where they meet.
Step 7
Add 2 more craft sticks on the backside of the roof to create a chimney, glue them next to each other to create a point like the first two roof pieces.
Step 8
Now it’s time to decorate your haunted house! Here’s a few ideas for how you could decorate:
- Cut out shapes from felt like blobs to look like ghosts, bats, or pumpkins.
- Add curved fuzzy sticks to create a door, a tiny pom pom doorknob is a great addition!
- Cut squares from felt and draw a windowpane with a black marker, glue them to the front as windows.
- Add a spiraled fuzzy stick from the chimney to look like smoke.
- Cover the roof in googly eyes, sequins, or glitter!
The possibilities are endless to customize your haunted house, get creative!


I hope your haunted house is the perfect addition to your house this Halloween season!
Happy Halloween!
About The Author:

Fiber artist and craft enthusiast, Tessa Anderstrom, is the owner of handmade shop Studio Jane which focuses on sustainably made home décor and handmade art. As an avid DIYer with a passion for learning new skills, Tessa enjoys sharing that knowledge with crafters of all ages.
]]>


 Rachel is the artist and founder of Pink Puddle Studio LLC. Her mural work has been televised on CNBC’s Cash Pad. Her work has been featured in HGTV Magazine, Phoenix New Times, Phoenix Home & Garden, Arizona Highways Magazine and College Times.


 Fiber artist and craft enthusiast, Tessa Anderstrom, is the owner of handmade shop


